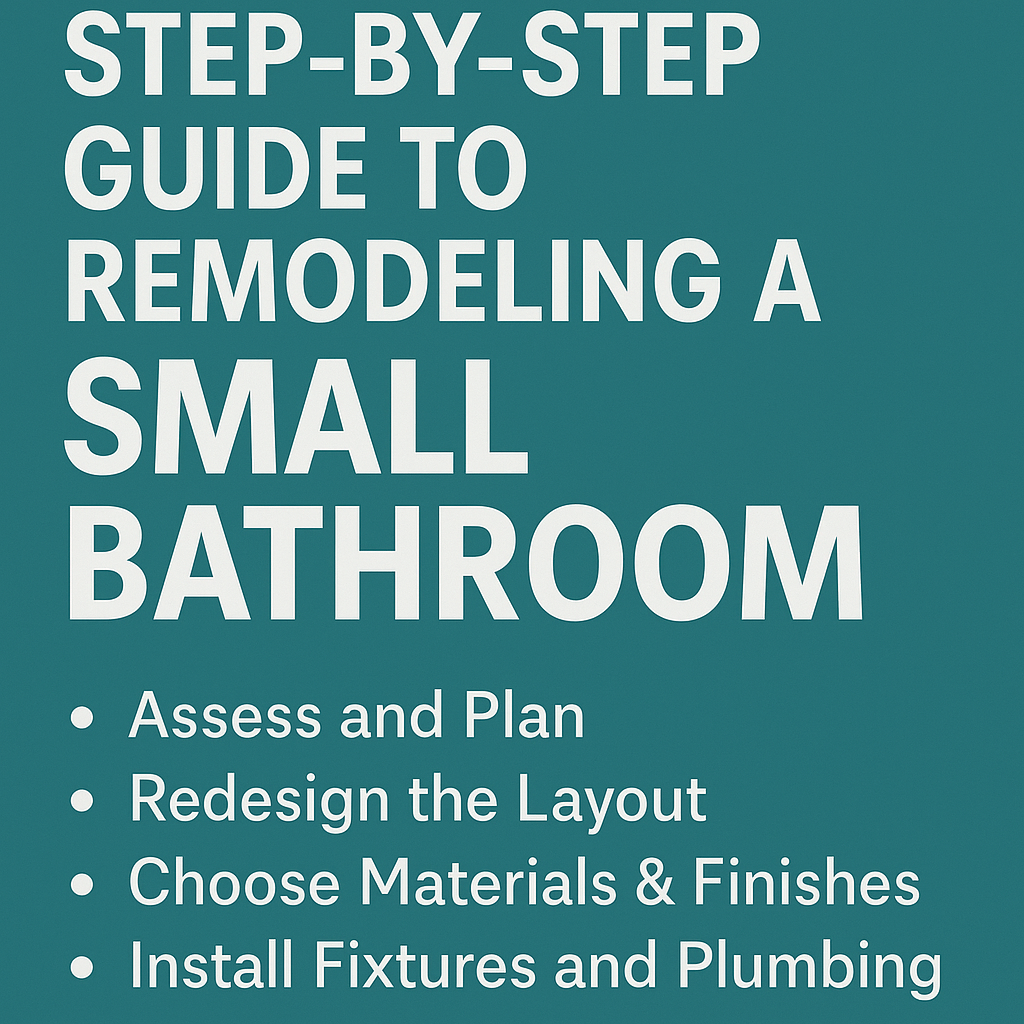
Remodeling a small bathroom can seem like a daunting task, especially when you’re working with limited space and a tight budget. But with the right strategy, smart design choices, and a bit of creativity, you can transform your compact bathroom into a stylish and functional retreat.
This step-by-step guide walks you through everything—from planning to execution—so you can remodel your small bathroom with confidence and clarity.
✅ Why Remodel a Small Bathroom?
Before diving into the details, let’s explore why a small bathroom remodel is a worthy investment:
-
Increases home value: Even minor upgrades can offer up to 60-70% ROI.
-
Improves functionality: Maximize space and comfort in daily use.
-
Enhances aesthetics: Turn a dull, cramped room into a modern oasis.
-
Solves layout problems: Fix awkward arrangements and poor lighting.
🛠️ Step 1: Assess and Plan
🔍 Measure Everything
Start by measuring the entire bathroom:
-
Floor dimensions (length × width)
-
Ceiling height
-
Distance between fixtures (toilet, sink, shower)
📋 Set a Realistic Budget
Typical small bathroom remodels in 2025 cost between ₹50,000 and ₹2,00,000 depending on materials and labor. Consider:
-
Plumbing & electrical
-
Fixtures (toilet, sink, shower)
-
Tiles & paint
-
Lighting
-
Labor charges
🧩 Define Your Goals
Ask yourself:
-
Do I want more storage?
-
Am I replacing all fixtures?
-
Is this a cosmetic upgrade or a full renovation?
🏗️ Step 2: Demolition and Prep Work
Once your plan is in place:
-
Turn off water supply and electricity to the bathroom.
-
Remove old fixtures carefully.
-
Inspect plumbing and electrical wiring—upgrade if needed.
Tip: Use dust sheets and plastic covers to protect adjacent areas during demolition.
🧱 Step 3: Redesign the Layout (If Needed)
In a small bathroom, every inch counts. You don’t always need a new layout, but if the current one isn’t functional:
🚽 Consider Compact Fixtures:
-
Wall-mounted toilets
-
Floating vanities
-
Corner sinks or triangular basins
🧼 Replace the Tub:
-
If space is tight, replace a full-size bathtub with a glass shower enclosure or walk-in shower.
🚿 Use Pocket or Sliding Doors:
-
Save space by replacing swinging doors with sliding or barn-style doors.
🎨 Step 4: Choose Materials & Finishes
🧱 Tiles & Flooring
-
Use large, light-colored tiles to make the space appear bigger.
-
Consider anti-slip matte-finish tiles for flooring.
🎨 Paint Colors
-
Opt for neutral or soft tones like white, light gray, beige, or pastel blue to reflect more light.
🪞 Mirrors
-
Add large mirrors to create an illusion of space.
🔲 Storage
-
Add recessed shelves or built-in niches inside the shower area.
-
Use vertical cabinets or open shelving.
💡 Step 5: Lighting & Ventilation
Small bathrooms often lack windows, making lighting and ventilation crucial.
🕯️ Lighting
-
Add layered lighting: ceiling lights, mirror lights, and accent lights.
-
Use LED fixtures for energy efficiency.
🌬️ Ventilation
-
Install an exhaust fan with humidity control to prevent mold and moisture buildup.
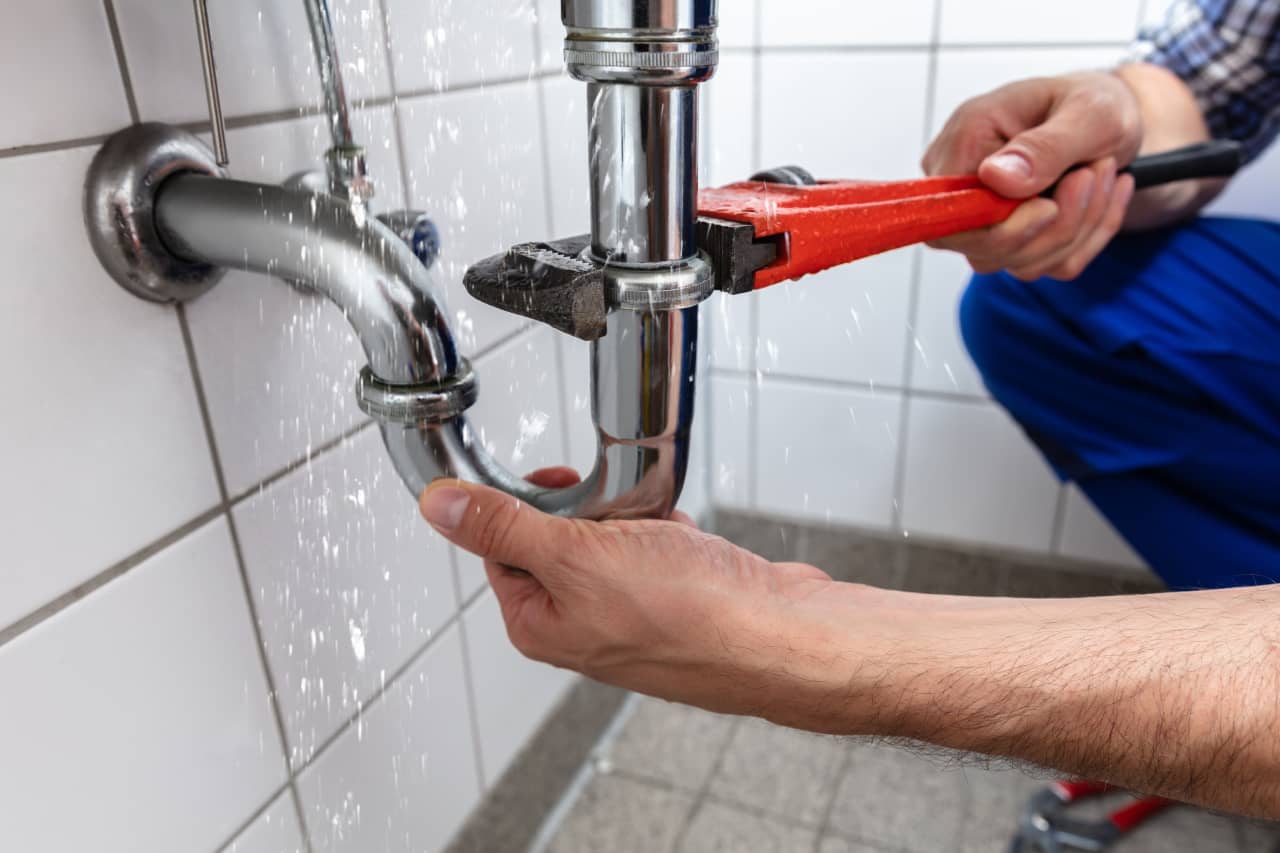
🚽 Step 6: Install Fixtures and Plumbing
Once the foundation is ready:
-
Install new toilet, basin, and shower unit.
-
Fix water lines, drainage, and faucet positions.
-
Check for leaks before sealing.
Pro Tip: Hire a licensed plumber to avoid costly mistakes down the line.
🧰 Step 7: Final Touches and Styling
✅ Caulking and Sealing
-
Seal all edges and joints to prevent water seepage.
🪴 Decor and Function
-
Add wall hooks, towel racks, or under-sink organizers.
-
Use plants, scented candles, or artwork to personalize the space.
🧼 Cleaning
-
Clean up thoroughly and check if everything is working properly before use.
💡 Smart Tips to Maximize Small Bathroom Space
| Tip | Benefit |
|---|---|
| Wall-mounted fixtures | Keeps floor clear and creates openness |
| Light color scheme | Makes room appear larger |
| Glass shower partitions | Maintains open sightlines |
| Recessed lighting | Saves headroom space |
| Multi-functional furniture | Combines storage with design |
Mistakes to Avoid
❌ Overcrowding the room with furniture
❌ Poor waterproofing and ventilation
❌ Ignoring lighting layers
❌ Choosing style over functionality
❌ DIY plumbing without expertise
Estimated Timeline
| Task | Duration |
| Planning & Design | 3–5 days |
| Demolition & Plumbing | 2–4 days |
| Tiling & Painting | 3–5 days |
| Fixture Installation | 1–2 days |
| Final Touches & Cleanup | 1 day |
| Total | 7–14 days |
Conclusion
A small bathroom remodel can completely transform your space and elevate your home’s value. By following this step-by-step guide, you ensure a smoother renovation journey—balancing functionality, beauty, and affordability. Read Also :Top Budget-Friendly Home Renovation Hacks for 2025
Whether you’re doing a complete overhaul or just upgrading finishes, the right approach makes all the difference.