Tongue And Groove Ceiling: Most of the tongue and groove you’ll find at home centers and lumberyards is 1×6 or 1×8 spruce. But other wood options and sizes can be special-ordered. Some boards are rough on one face and smooth on the other. Others, like the 1×8 boards used here, have a groove down the middle of one face to give the impression of more, narrower boards. Most stores carry a 1×4 beaded ceiling board as well.
These tips apply to any of the styles. Installing a tongue-and-groove paneled ceiling is possible as a one-person project, but parts of it are much easier with two people. The basic process involves cutting each piece so it fits nicely to any neighboring pieces and it ends, or “breaks,” over the center of a ceiling joist (or a roof rafter, on a cathedral or vaulted ceiling).
Tongue And Groove Ceiling Planks
- Use clips and screws included in the package: Attach planks directly to furring strips over existing joists using the clips and screws included in every plank carton.
- Easy Up tracks and clips: Install Easy Up tracks. Snap-on Easy Up clips. Position planks and slide clips to secure for a flawless installation
- Retrofit: Easy Up clips on an existing 15/16″ ceiling grid
- Remove existing ceiling panels
- Snap-on Easy Up clips (sold separately)
- Position planks, slide, and secure clips
Tongue And Groove Pine Ceiling
- Assess your existing porch. What is the spacing of the existing framing? Is the framing covered? Does the roof have any leaks? Which way do you want to run the V-Groove?
- Next start by measuring the overall length and width of your porch to order materials. If you are running the ceiling in the short direction, divide the length of the porch by the width of each board. For example, if you have a 9′ deep porch 20′ long, you will need 46 rows at least 10′ long and the 10′ boards will be cut down to just under 9′. If you are running the long direction, divide the total square footage by the width of each board for the total lineal footage. Finally, add 15% to the total count for cuts and waste.
- Once the material arrives, determine the width of the first and last row. It will look much better if both rows are the same width. While you may luck out and have a full last row, ending with a 1” row is less ideal than starting and ending with two even 3” rows.
- Next, stain or seal the boards on sawhorses. Allow the V-Groove to dry overnight. While it may seem easier to finish them in place, remember that you will be working upside down and it will be hard to get a consistent finish in the grooves. Be sure to coat the tongue of the board as well.
Each piece of our tongue and groove pine paneling is hand-selected and inspected for the highest in quality. Our pine wall paneling is not just some run-of-the-mill production paneling found in home centers or large lumberyards There’s no need to butt our end-matched paneling or siding on a stud like you would the “Old Way” with 12′, 14′ and 16 footers. Our knotty pine tongue and groove paneling significantly reduce the amount of measuring and cutting in each job. The results are 15-20% labor savings and up to 20% less material waste.
How To Install Tongue And Groove Ceiling
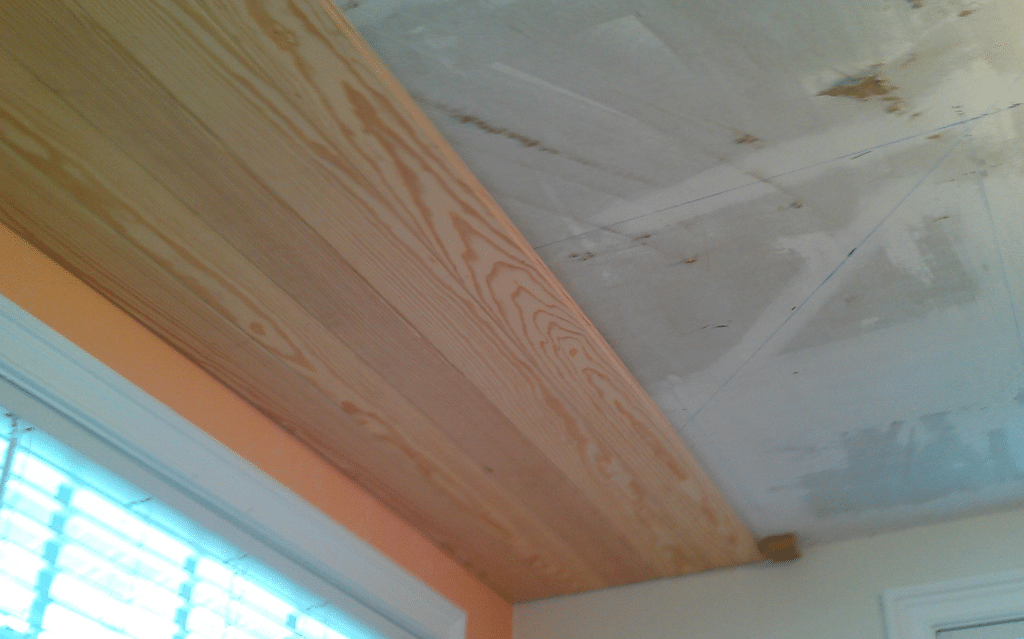
Attach Furring Strips to Ceiling
Fasten furring strips to the ceiling with the cordless framing nailer. These will act as nailers to attach your planks to.
Install Planks
Start with your first piece: groove facing the wall, tongue facing out. Use the framing gun to add a nail to the tongue of the plank and secure it in place. For the next piece, you will connect the groove of the new piece into the tongue of the first piece.
Secure Planks
Secure the planks by attaching a tapping block to the tongue and lightly hitting it with a hammer into the seam.
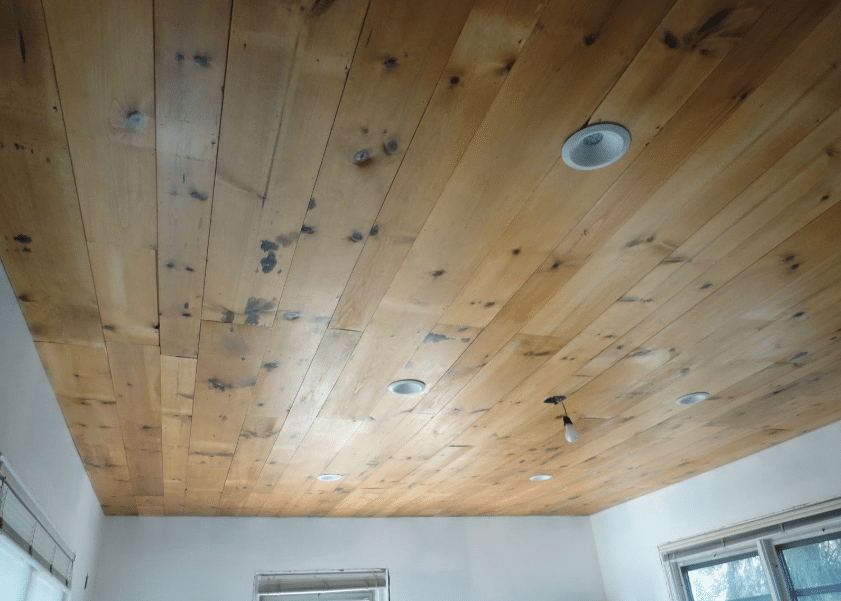
Cut Holes for Recessed Lighting
When you approach the holes in the ceiling for recessed lighting, be sure to accurately measure the location for the center of the light (Image 1). Continue planking the ceiling, then go back and cut a hole for the light using a 6-1/4” hole saw (Image 2).
Tongue And Groove Ceiling Tiles
HomeStyle 231 Washable White 12 in. x 12 in. Ceiling Tile provides a sense of beauty to any room in the home. Paintable to match any decor and easily installed over your existing ceiling. The perfect solution when you need the look of a smooth, basic plaster ceiling.
- Acoustical panels contain 24% recycled material and reduce noise up to 30%
- Beveled tongue and groove edge detail, great for covering damaged drywall and plaster or popcorn ceilings
- 40 sq. ft. coverage area per carton
- Fire-retardant design meets Class A code requirements for added safety
- Easy to clean and can be installed directly to your ceiling or with wood furring strips
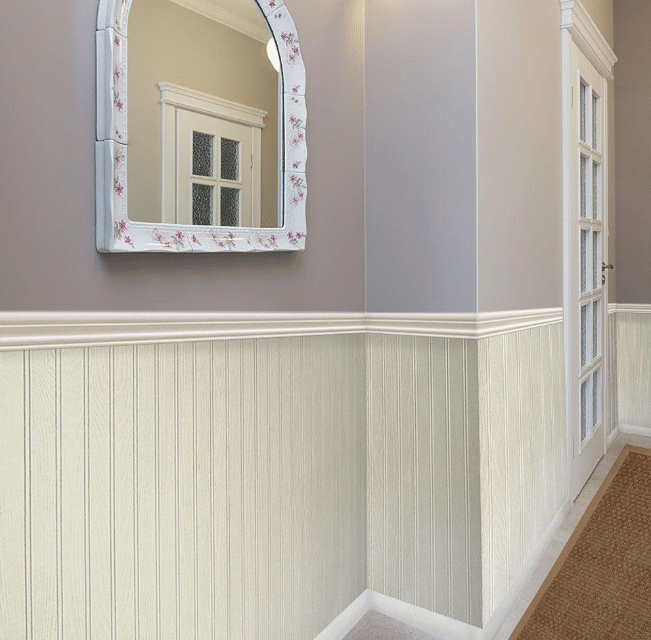
What Is A Tongue And Groove Ceiling?
Tongue and groove ceiling planks, with their authentic wood looks, create a decorative focal point for any room. Whether your décor is rustic or formal, eclectic or traditional, ceiling planks add textural contrast to walls and floors and enhance a room’s visual appeal.
Is Shiplap And Tongue And Groove The Same Thing?
Shiplap, by definition, is “boards that have been milled so that the top and bottom of each piece has a rabbet joint, so they can be stacked as siding“. In a nutshell, shiplap boards rest on top of each other and overlap, while tongue-and-groove planks join together and interlock.
Is Tongue And Groove Expensive?
Isn’t tongue and groove more costly than drywall? Generally, yes–the retail cost of T&G will cost you more than drywall. But the labor is where the cost comes down considerably, with regard to modular cabins. We go to great lengths to develop and maintain systems in our building process.
What Kind Of Nails Do You Use For Tongue And Groove?
Drive the nails through the shoulder of the tongues into the framing at about a 45-degree angle. The next grooved edge will hide the nail holes. A 15- or 16-gauge brad nailer with 2-in. nails are the best choice for fastening, although an 18-gauge nailer will do the job, too.